At MK POL Builder, we believe that a well-installed floor is the foundation of a beautiful and functional space. That’s why we approach each flooring project with meticulous planning, careful preparation, and precision in execution. Our specialty lies in installing glued-down panels, which provide durability, stability, and an elegant finish that lasts for years. Below, we walk you through every stage of our process — from the initial teardown to the final coat of paint — so you know exactly what to expect when you entrust your floors to us.
Every great flooring project begins by thoroughly preparing the site. We start by removing the old flooring materials, whether it's laminate, tile, vinyl, or carpet. This isn’t just about clearing space — it's about creating the best possible foundation for your new floor. Old layers can often hide uneven subfloors, water damage, or mold, which must be identified and addressed early on.
Alongside this, we also remove existing wall moldings. These trim pieces can be reused if they’re in good condition or replaced if needed. Taking them off beforehand ensures that our flooring reaches fully beneath the edges, which improves visual appeal and allows for proper expansion space. Skipping this step may seem like a shortcut, but it leads to a lower-quality finish — something we simply don’t accept.
With the space stripped down to its subfloor, we carry out a comprehensive inspection to identify any issues that could impact the performance or longevity of your new flooring. We check for signs of unevenness, cracks, moisture infiltration, or structural instability. Many flooring problems begin with hidden issues in the subfloor, so we treat this step with great importance.
If our team discovers weak spots, damaged areas, or surfaces that aren’t up to standard, we consult with the client and propose corrective actions. This might include adding support, replacing damaged panels, or applying moisture-resistant layers. The goal here is to ensure that the new flooring sits on a clean, sound, and reliable foundation — which is essential for long-term success.
Once the inspection is complete and any necessary repairs are made, we turn our focus to cleaning. This isn’t a casual sweep — it’s a deep, detailed process using industrial vacuums and precision tools. Even microscopic particles of dust, leftover adhesive, or construction debris can interfere with adhesion, cause uneven leveling, or lead to long-term surface issues.
We go over the floor multiple times, ensuring that every corner is cleared of debris. Cleanliness is essential at this stage because it prepares the subfloor to bond effectively with the primer and self-leveling compound in the next step. A clean subfloor allows these materials to perform at their highest potential, contributing to the overall strength and appearance of the finished floor.
Priming the subfloor is the next critical phase. We apply a high-performance primer that enhances the bond between the subfloor and the self-leveling compound. This product penetrates the surface and reduces the risk of separation or delamination later on. Once it has dried completely, we move on to pouring the leveling compound.
The self-leveling compound is a fluid cementitious material designed to spread evenly and settle into low spots, creating a smooth and perfectly flat surface. This step is vital, particularly for glued-down panels, which require consistent contact with the subfloor for proper adhesion. Uneven surfaces can lead to hollow spots, creaking noises, or premature wear. We monitor the curing process closely and test the surface to ensure it meets strict leveling standards before proceeding.
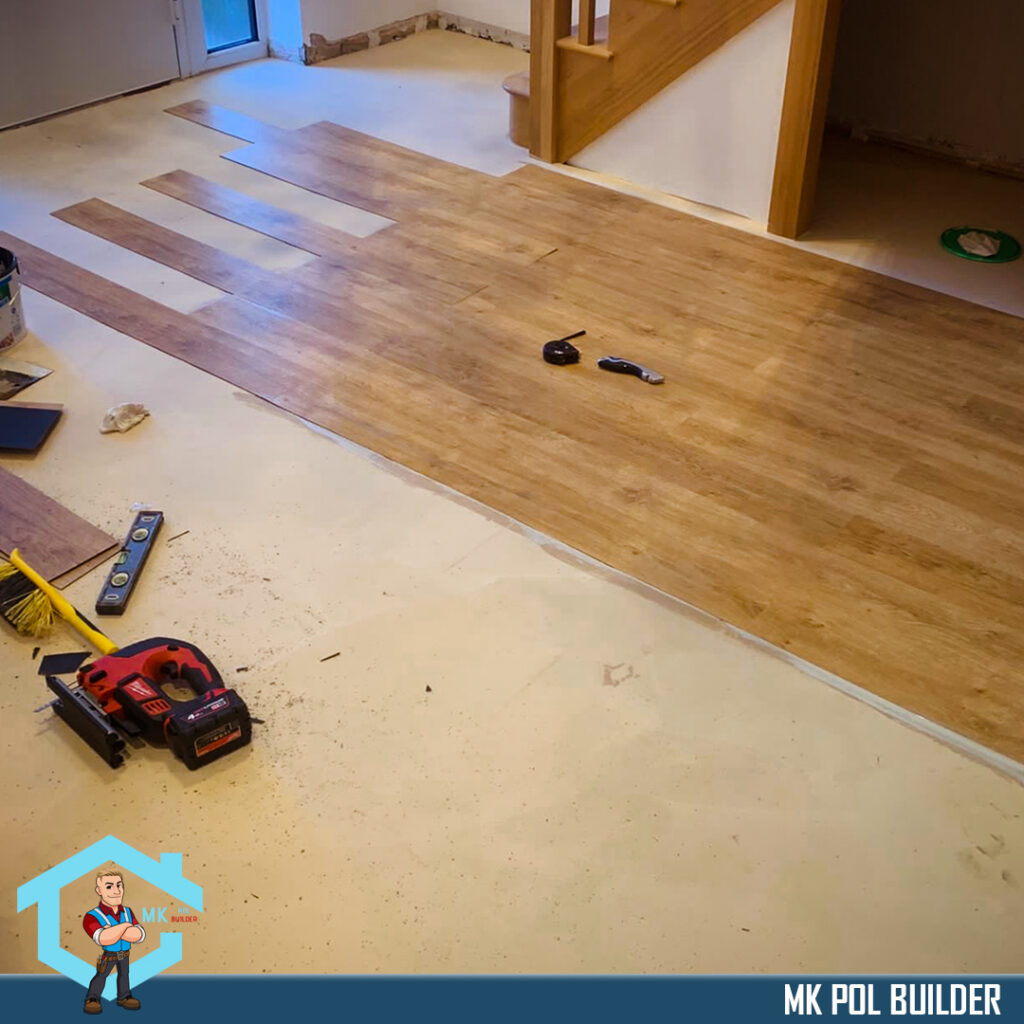
With a leveled floor in place, the focus shifts to precision layout. Before a single panel is placed, we carefully measure the room’s dimensions, noting any irregularities or design features. Based on these measurements, we draw guideline markings directly on the floor to guide the installation.
These lines ensure that each row of panels is perfectly straight and that any pattern — whether staggered, diagonal, or herringbone — is maintained across the space. This step is particularly important in large or oddly shaped rooms, where even slight deviations can become visually noticeable. Accurate layout planning also helps reduce material waste and ensures balanced spacing along the edges and walls
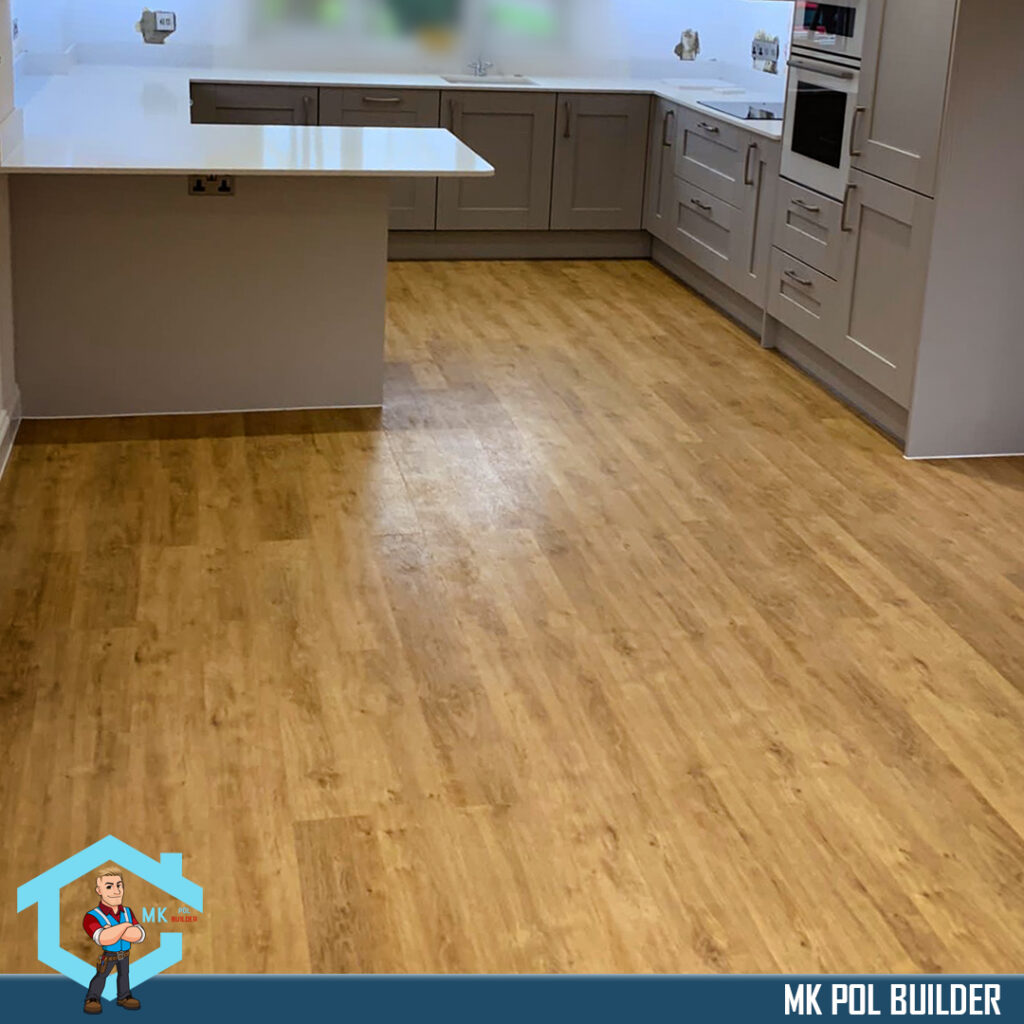
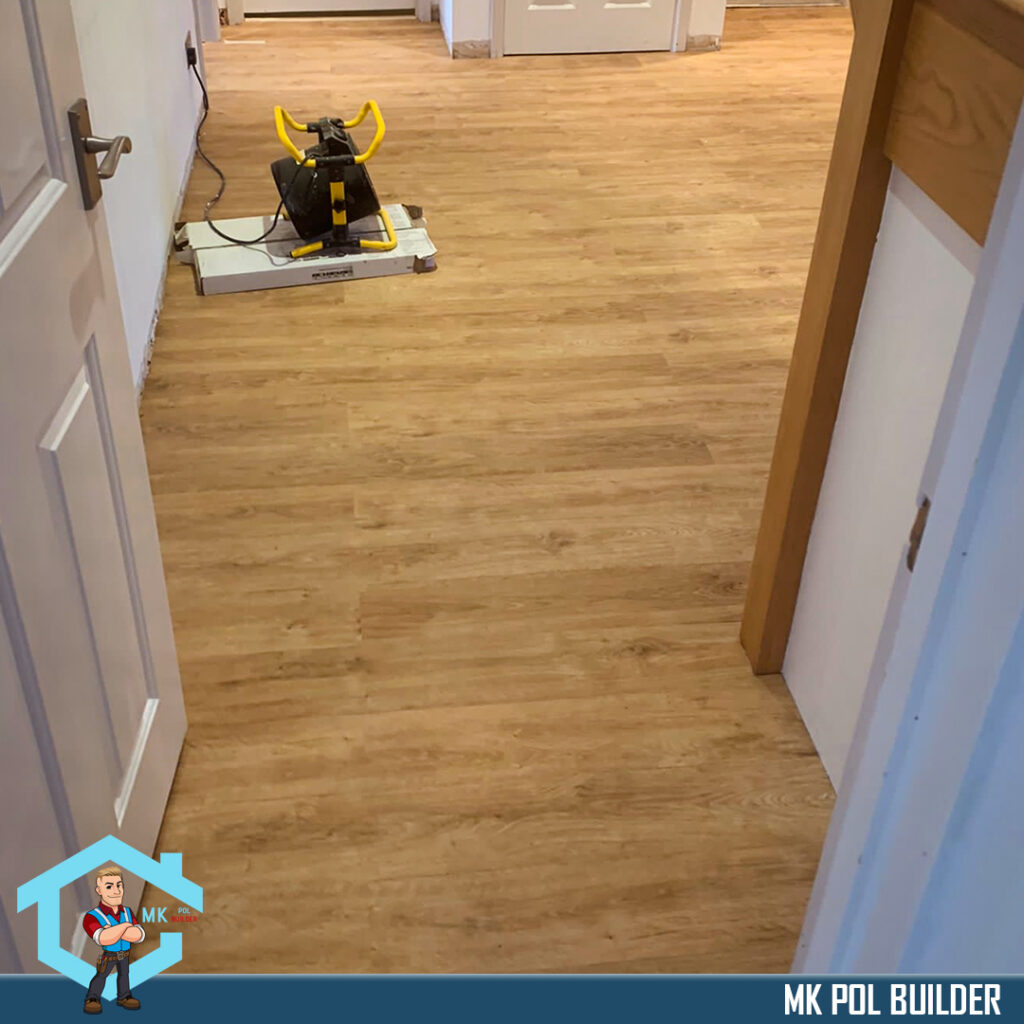
The actual laying of the panels begins with professional-grade adhesives, applied carefully in sections to avoid premature drying. Each panel is pressed into place with attention to alignment and pressure distribution. We use spacing tools, rollers, and clamps where necessary to ensure the boards are tightly fitted and fully bonded to the subfloor.
This phase demands both craftsmanship and patience. A rushed installation can lead to lipping, shifting, or open seams — problems that undermine both appearance and performance. Once the panels are laid, we reinstall the wall moldings, cutting and fitting each piece precisely to match the new floor. These moldings not only conceal the necessary expansion gaps but also provide a clean, finished edge that enhances the entire room.
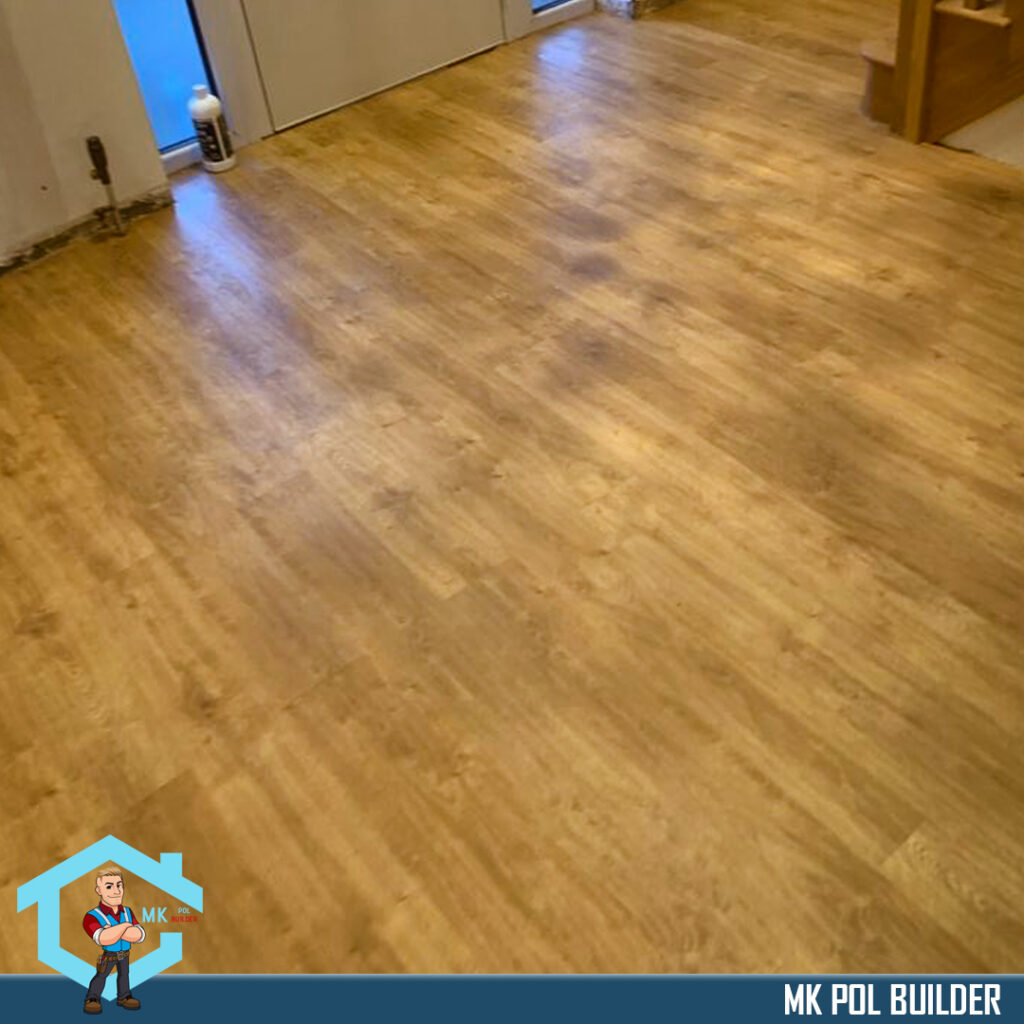
Despite careful placement, small gaps may still appear along transitions or around irregular edges. To ensure a flawless finish, we use professional masking or joint-filling compounds to fill these spaces. These materials are selected for their flexibility and durability, which helps them adapt to subtle movements in the flooring over time.
Color matching is also a priority. We use compounds that complement the flooring material, blending into the surface so that the result looks clean and continuous. This step also protects the floor from dirt, moisture, and damage at the seams — all while elevating the aesthetic quality of the final product.
To complete the transformation, we apply two coats of paint to the wall moldings. This step might seem small, but it’s the final polish that brings the entire space together. We use high-quality paint suited to the room’s function and desired aesthetic — whether it’s a clean white satin in a modern home or a bold color in a commercial space.
By painting the moldings after the floor is installed, we avoid paint drips on new surfaces and ensure crisp lines. The two-coat process guarantees full coverage, a uniform sheen, and resistance to scuffing or wear. It’s the final detail that gives your space a professionally finished appearance, adding a touch of elegance and care that reflects our commitment to quality.
Choosing MK POL Builder means choosing excellence. We approach each project with professionalism, technical expertise, and a dedication to customer satisfaction. Our proven methods, high-quality materials, and detailed execution ensure results that are not only visually impressive but built to last.
From the first removal to the final brushstroke, we take care of every detail — so you don’t have to. Whether you’re renovating a single room or fitting out an entire property, we’re here to help you bring your floors to life with precision and passion.
Contact us today to schedule a consultation and discover how we can transform your space — one panel at a time